There is a large proportion of the population of the UK who are, in essence, housebound and may find access to regular health services, such as an eye examination, problematic. As a large percentage of these are elderly, then they are at a much higher risk of most eye diseases normally screened for by routine eye examinations. For this reason, domiciliary eye care services are important and it is essential that such services provide as complete a range of assessments as might be expected in a community practice setting.
Two areas where there have been challenges designing a portable system of some equivalence to the practice-based instrument are visual field analysers and retinal cameras. Portable retinal cameras have existed for some time, and indeed we have reviewed many over the years, but often they have had to compromise in some area – usually either image quality or ease of use. I was keen then to try out the new Nidek VersaCam DS-20 (available from Birmingham Optical), a digital imaging system aimed at addressing both concerns.
The VersaCam
Before trying out the camera, it is worth noting that the design of the DS-20 ticks a few boxes. The main body and ophthalmoscope weigh in at just 445g and can be carried easily in a small, neat case (1,2).
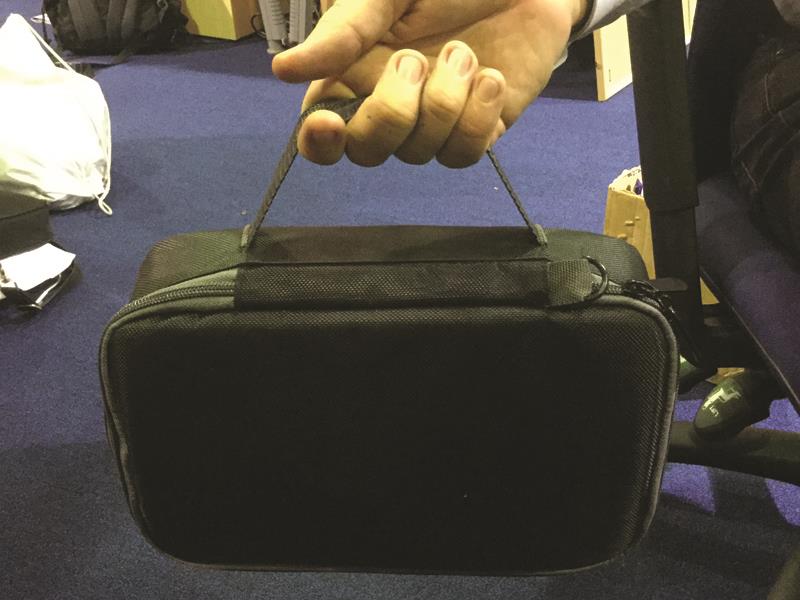
Figure 2
There is also a slit-lamp adaptor allowing a steadfast view if used within the practice setting (3). The fully charged unit can easily last one day’s use before a recharge, and data can be directly transferred via USB cable, SD card transfer, or DICOM connectivity if already using the NAVIS-EX software elsewhere for further analysis and enhancement. The touchscreen is user friendly, the patient experience not too onerous, and the incorporation of seven internal fixation points aids patient co-operation during the focus and capture process. Video capture is available along with colour and red-free. Brightness and focusing can be manually adjusted as an option – something I would recommend.
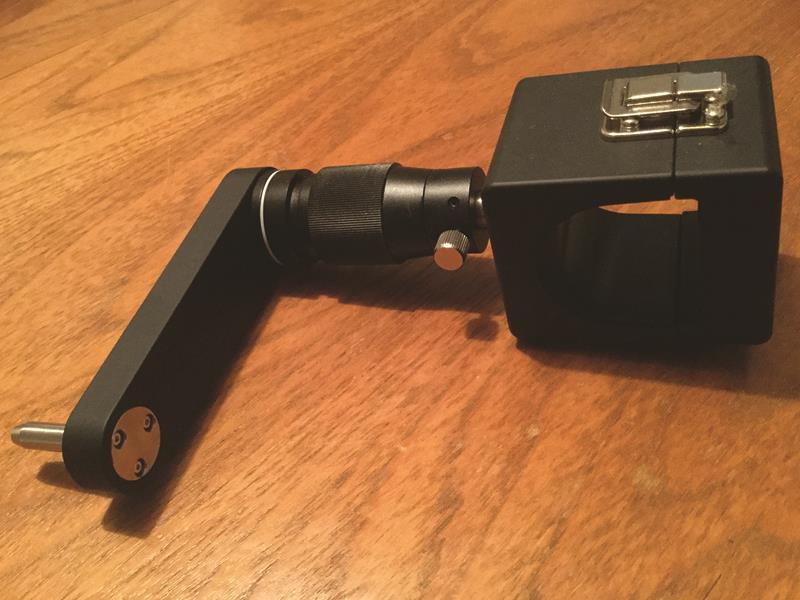
Figure 3
Image capture
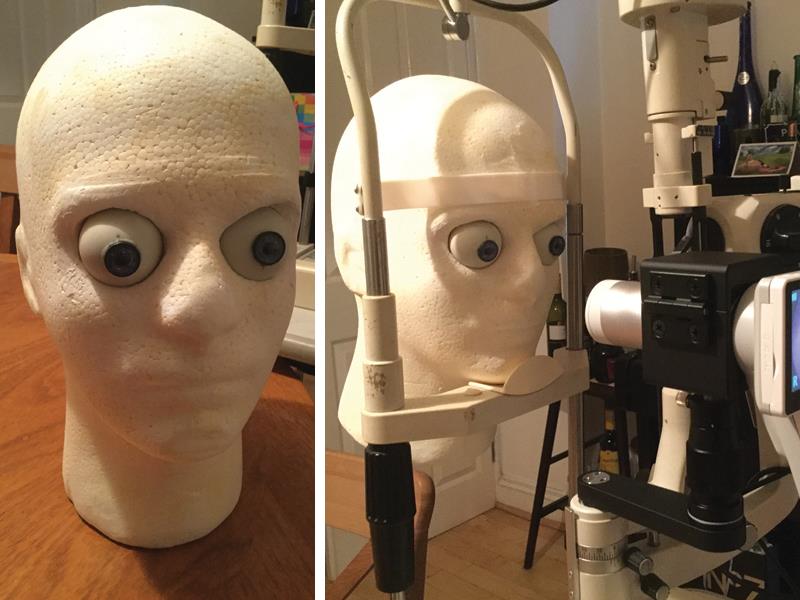
Previous experience with portable cameras had taught me that some practice is essential, especially if to be used on undilated patients, as would be typical in a domiciliary setting. I set up a dummy eye mannequin (4,5) first and took some images (6).
Figures 4 and 5
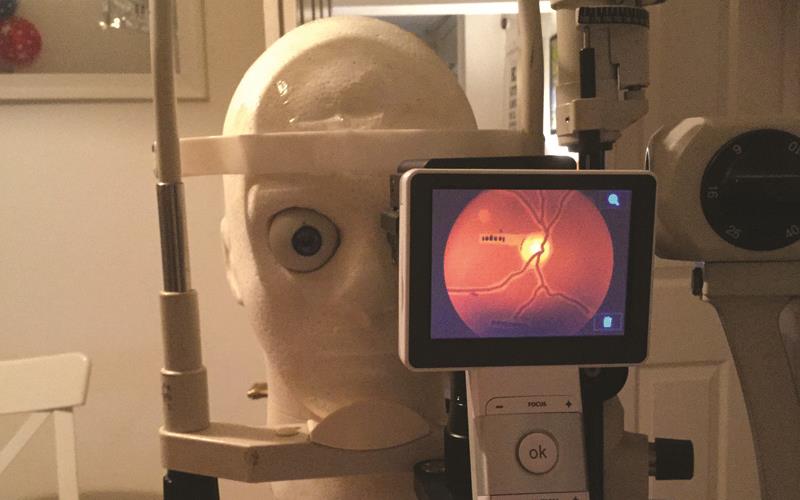
Figure 6
After patient identification input on screen, you simply align the camera with the pupil and move towards the patient to see the retina gradually appear on screen. Pressing the ‘OK’ button then starts the autofocus (if that option is selected) but I found this resulted in a less focused image (7) than when I manually focused myself. Moving too close resulted in a cropped image (8) and if too low (9) or high, the image would be edge shadowed. Reducing the brightness setting offered a better full field image (10).
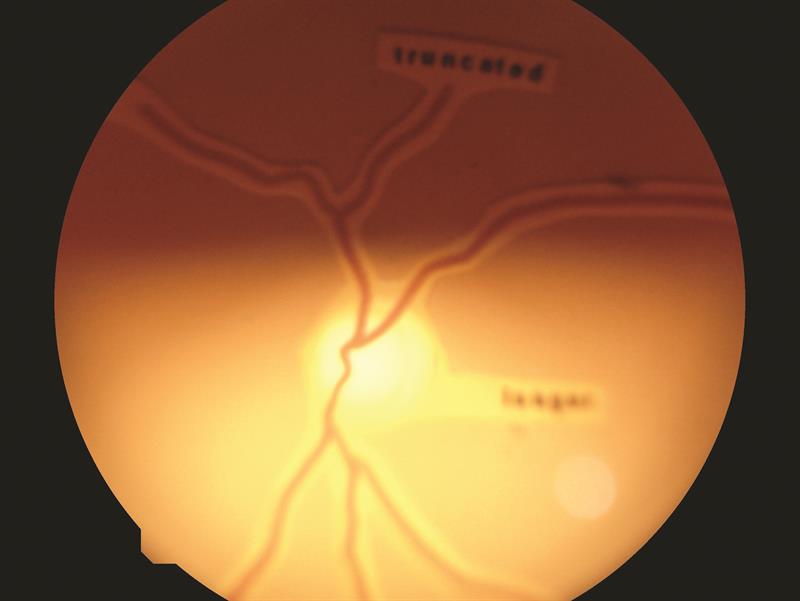
Figure 7
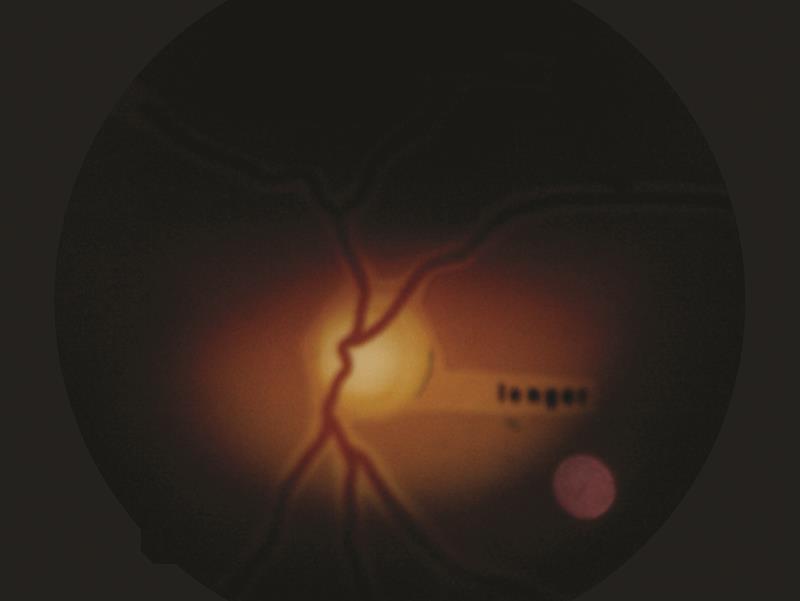
Figure 8
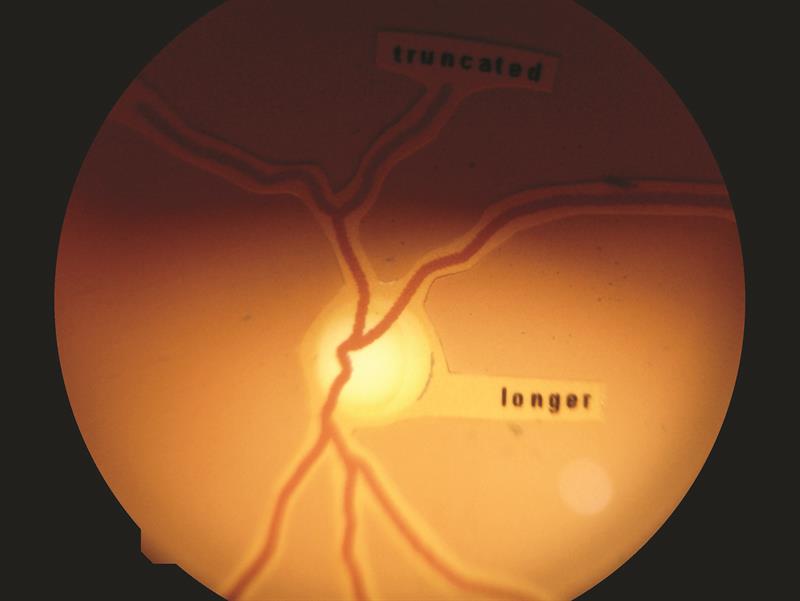
Figure 9
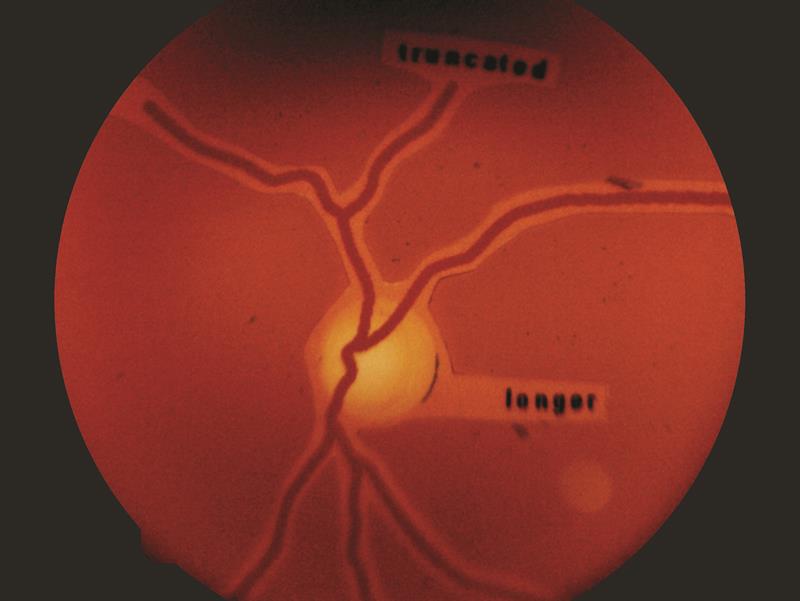
Figure 10
I then got to work on undilated colleagues in the Optician office (11 a, b, c).
Figures 11a, 11b, 11c
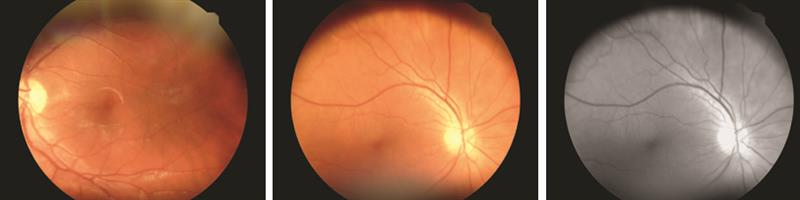
Anyone with a pupil less than 4mm diameter proved beyond my ability. I next took the unit on a domiciliary visit where I assessed an elderly patient with early lens changes and maculopathy. Despite a nice clear anterior image (12), retinal viewing was not possible. Finally, image 13 shows the fundus of an older patient with disc details clearly visible and figure 14 some peripapillary changes.
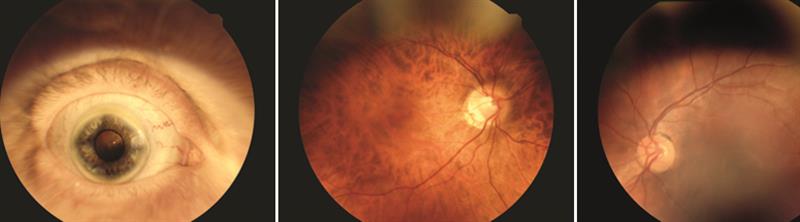
Figures 12,13, 14
A useful instrument, certainly worth the attention of domiciliary practitioners, and one which will give the best results if time is put in practising first.
Further information from birminghamoptical.co.uk