There have been a surprisingly few significant changes to slit-lamps over the decades. The basic design of a Galilean binocular microscope rotating about a common centre of rotation with a light source remains in both the two standard (Haag-Streit and Zeiss style) set ups. Image quality has evolved with better lens design and coating, the range of filters available has extended, in particular the introduction of the essential orange/yellow absorption filter (discussed later), and LED light sources have better efficiency and no heat emission. The incorporation of increasingly simple to use cameras and easy to manipulate image software makes many aspects of modern optometry clinic work better to be standardised, recorded and used to educate patients.
The cost of such units is more realistic today and this has been part-driven by the increasing number of suppliers on the market. Essilor Instruments have been slowly expanding their portfolio over the past year or two, the epitome of a soft start it has to be said, and I noticed at this year’s Optrafair show their new slit-lamp and camera unit and was keen to try it out.
SL 550L
As one would hope, the SL 550L ticks all the essential boxes for a modern slit-lamp. These include;
The unit I was loaned included the integrated DS 550 digital camera which feeds directly into a computer unit running the AnaEyes software. To put the unit through its paces, I thought the best approach was to capture images from a variety of slit-lamp assessments and a few of them are shown here.
Patient 1
Patient SH (48 years) had a history of chromic blepharitis and poor compliance with a range of treatment options. Figure 1 shows a general anterior image taken using a diffuse filter and higher rheostat setting on both the lamp source and the appended backlighter. The software allows the image to be stored in the usual variety of formats (this is a Jpeg) as well as a PDF for printing. When the PDF is printed, patient details and notes are easy to include. Figure 2 shows gradable bulbar hyperaemia and figure 3 a more magnified view of the lower lid. This visit included an interesting discussion about make-up application.
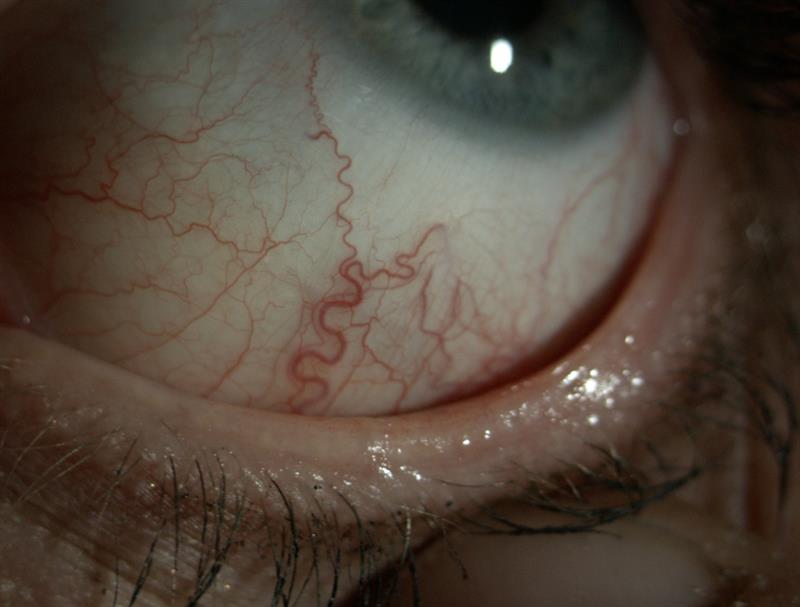
Figure 2
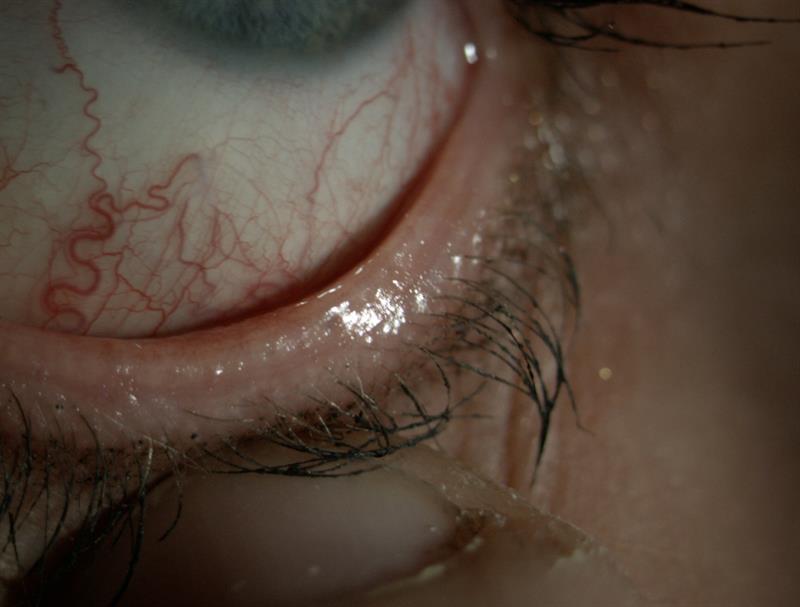
Figure 3
Patient 2
Patient BI (19 years) allowed me to use the same discussion and warned about future possible lid irritation if she continued with the amounts of eyeliner applied as seen in figures 4 and 5. Figure 6 reveals a not unduly concerning tarsal appearance after a late night before clinic and figure 7 shows an interesting array of contraction rings, clear against the pale low pigment background.
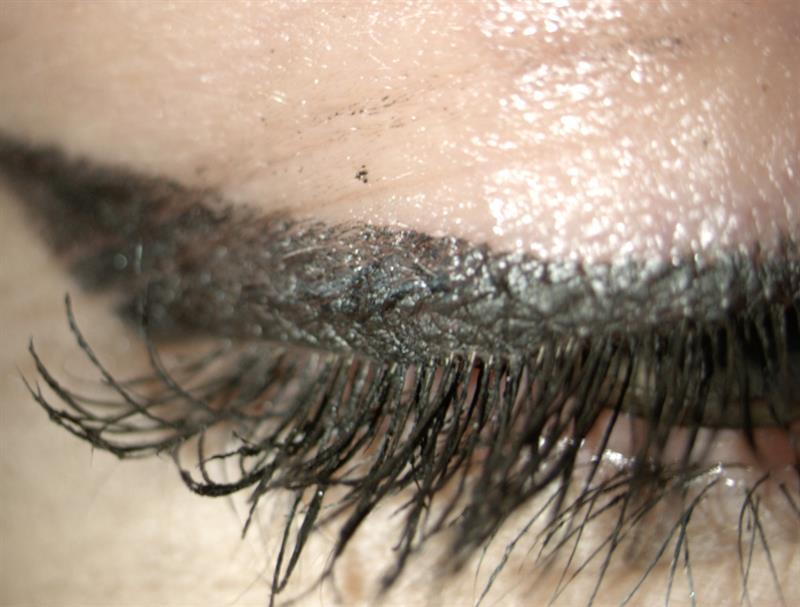
Figure 4
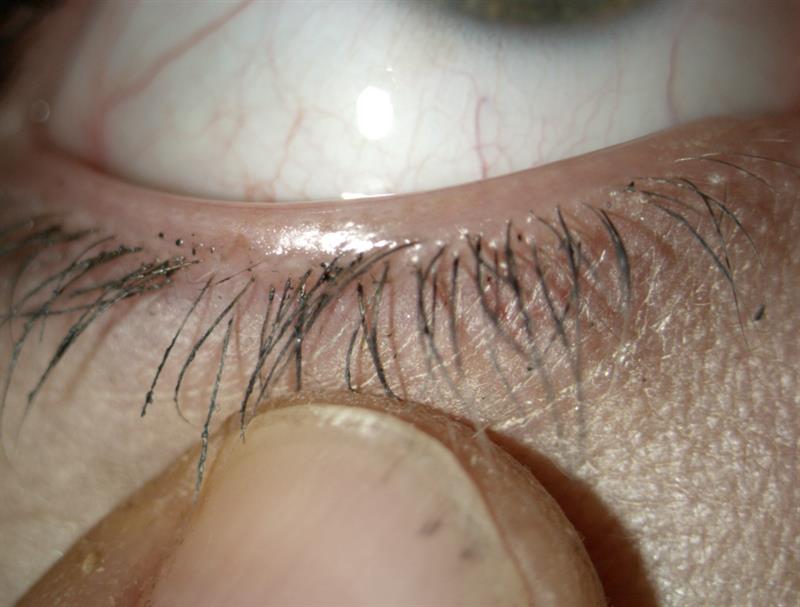
Figure 5
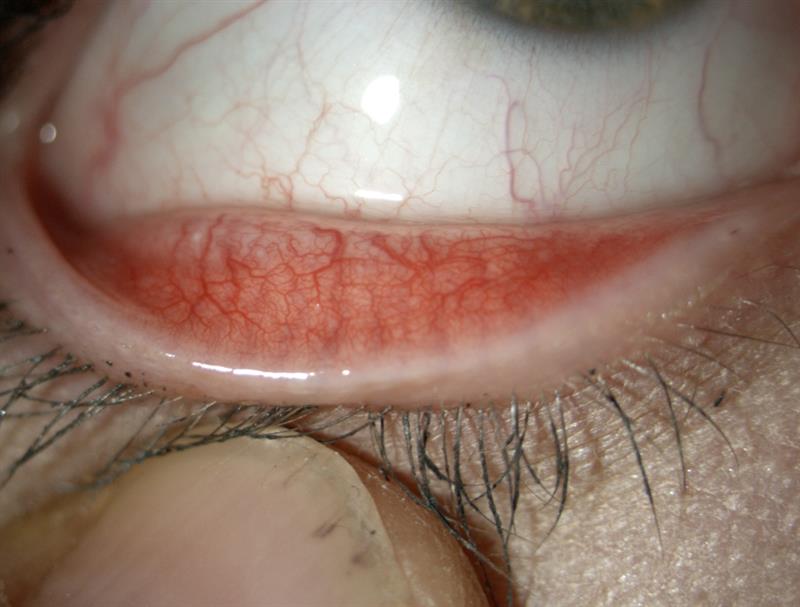
Figure 6
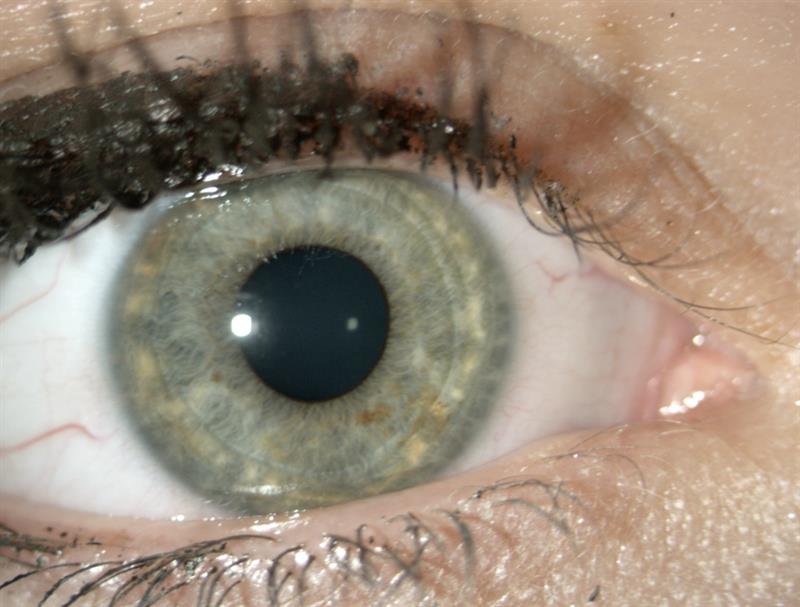
Figure 7
As BI had wide pupils, normal for her age, I was easily able to locate and image the disc using the super66 Volk (figure 8).
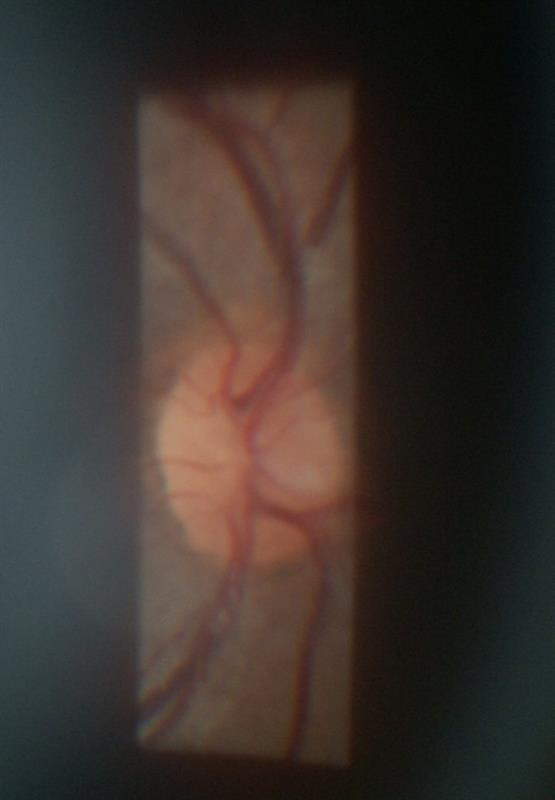
Figure 8
Patient 3
Patient CB (20 years) I predicted would have a healthy tear film. Imaging using fluorescein and a blue excitation filter (figure 9) instillation and I always recommend using a small white light of known diameter on the non-dye filled prism for better accuracy.
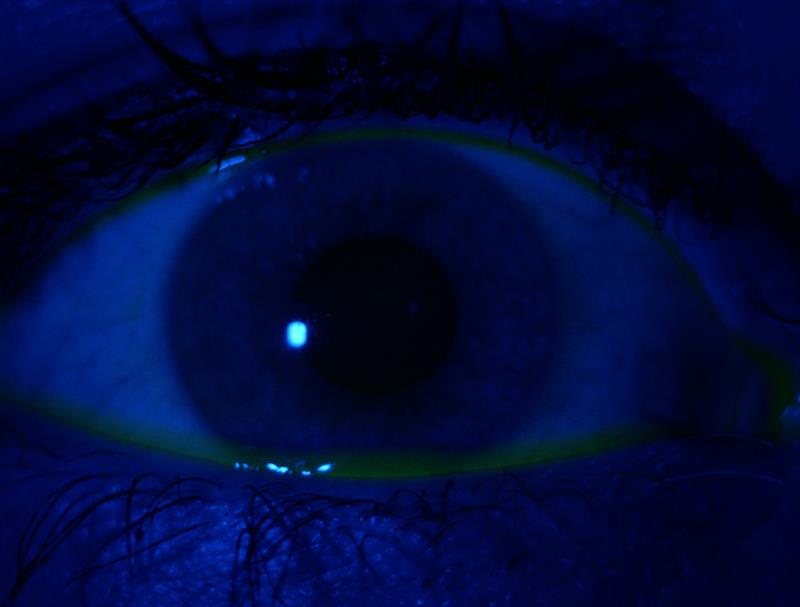
Figure 9
Figure 10 shows the same eye once the yellow absorption filter is also introduced and the view of the fluorescein is markedly better. The AnaEyes allows both still and image capture, and I prefer video for break-up time confirmation. Figure 10 is taken immediately after blink and figure 11 some 14 seconds later. Sequential imaging is useful if you have no access to video capture.
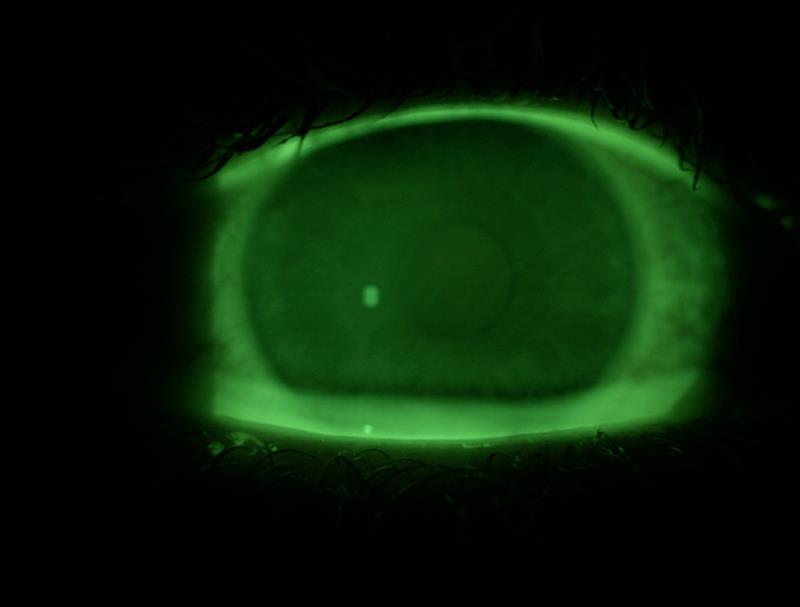
Figure 10
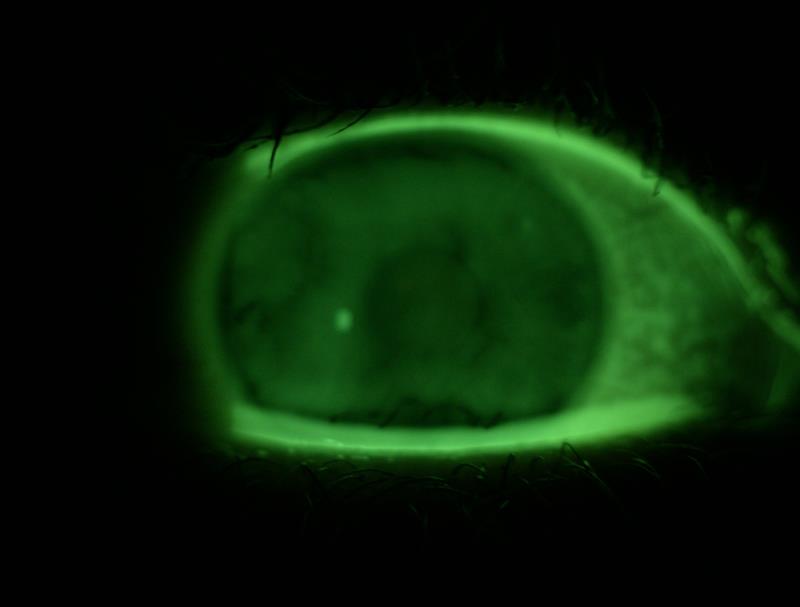
Figure 11
Patient 4
Patient SB (eight years) I include just to make the point that imaging of the younger patient is simple if you remember to adjust light setting appropriately. Lids (figure 12) and front of eye (figure 13) are perfectly easy to capture with reliance on the backlight and use of the diffuser. Nothing to report here though – my point is simply that anterior changes on the very young are often both important and rarely captured.
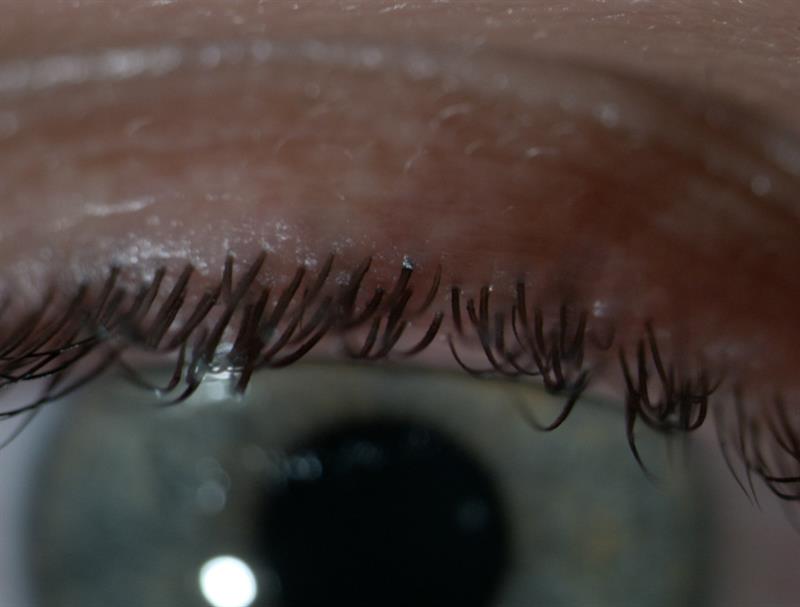
Figure 12
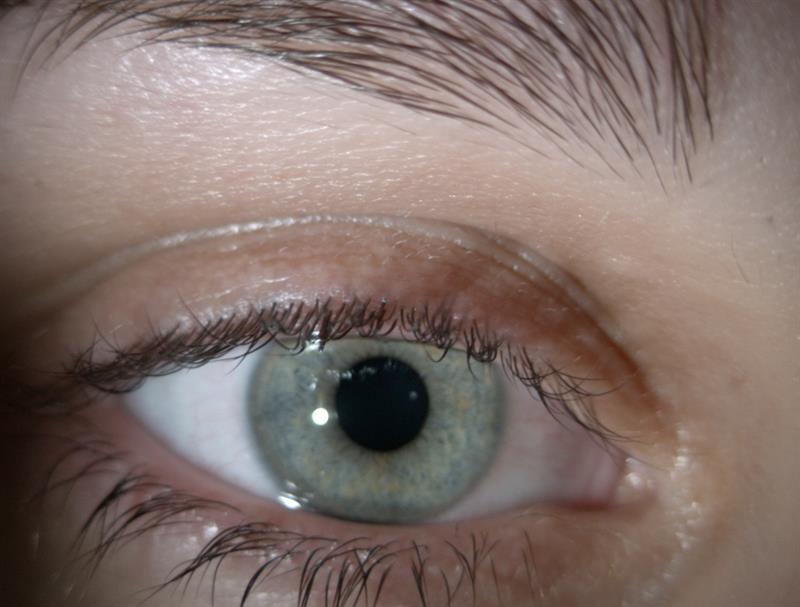
Figure 13
Patient 5
Patient NW (24 years) was another wide-eyed myope. Figure 14 shows the anterior vitreous face when I looked for Shafer’s sign. Figure 15 shows a wide open (1.2) van Herick angle.
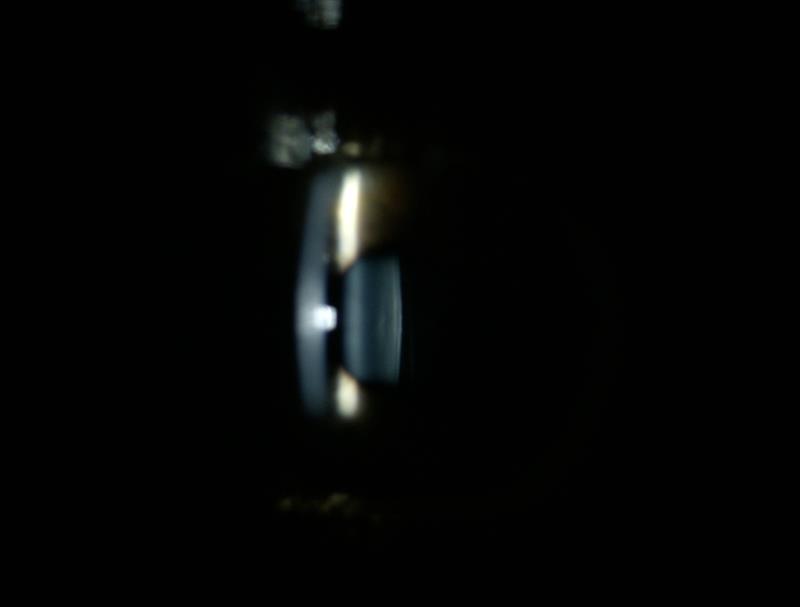
Figure 14
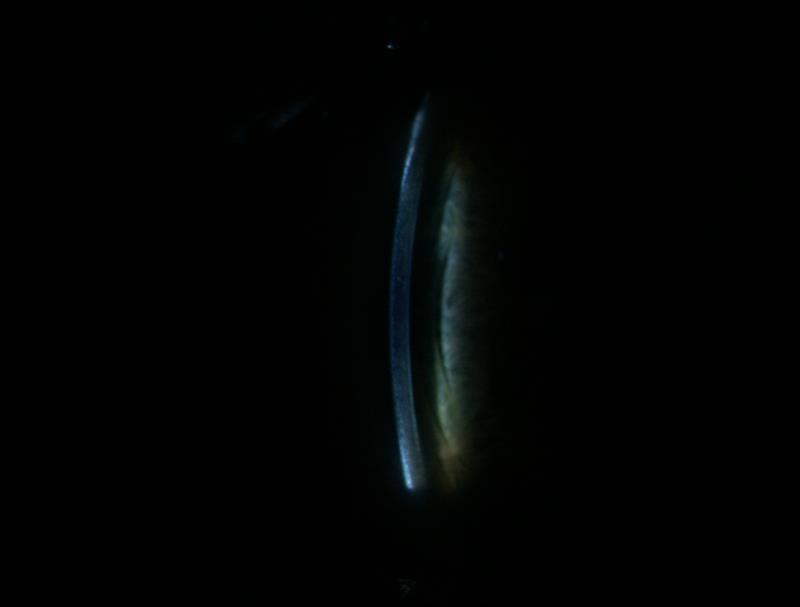
Figure 15
Patient 6
Patient KH (44 years) I took pressures from using a Goldmann unit and a variety of tonometer prisms. Figure 16 shows the rings using blue light via a standard Goldmann probe (and is similar with any probe where the sides are opaque).
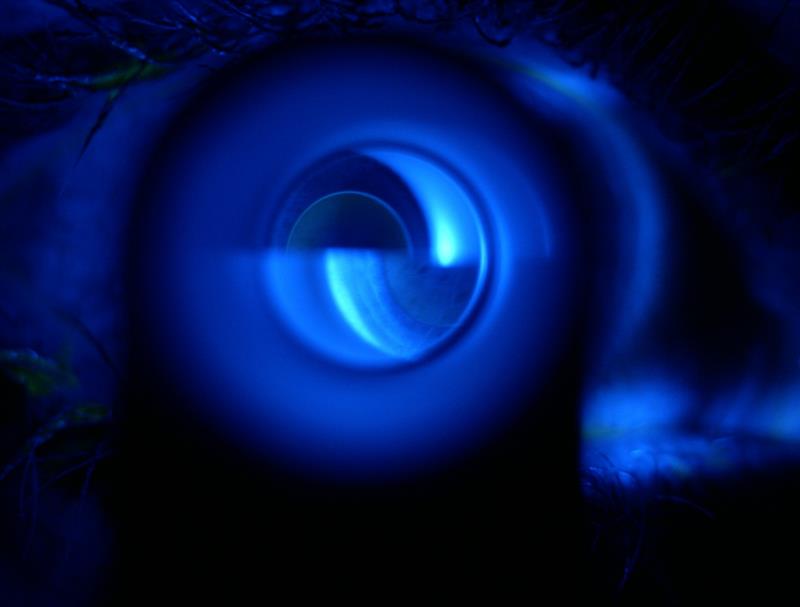
Figure 16
Figure 17, however, shows the difficulty that can be found with fully transparent or translucent tonometer heads where, in my view, too much stray light gets through and detracts from the image.
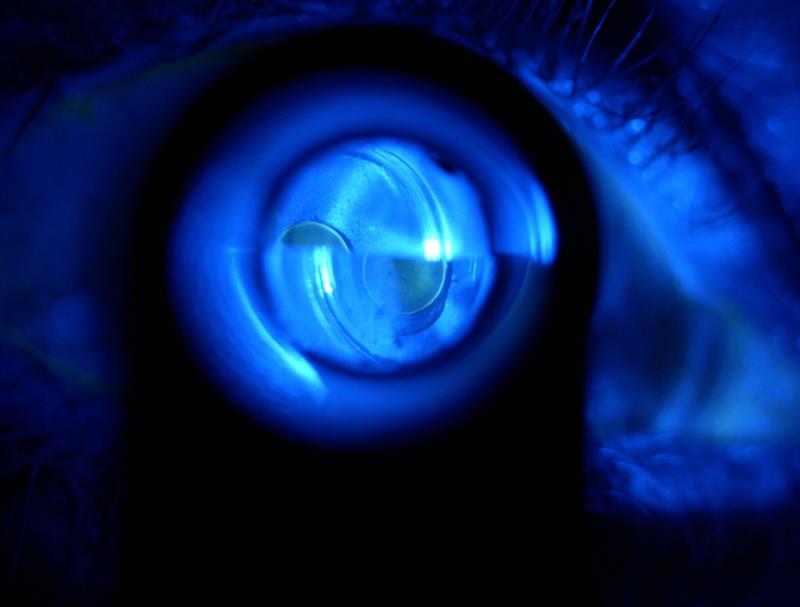
Figure 17
Figure 18 shows where too much fluorescein has been instilled. Figure 19 begs the question – why don’t we use the yellow absorption filter with the blue filter when doing tonometry?
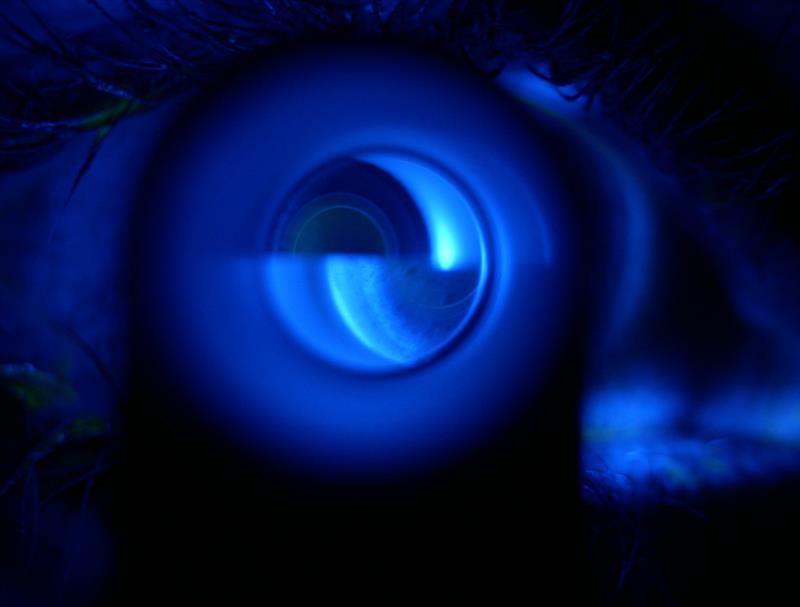
Figure 18
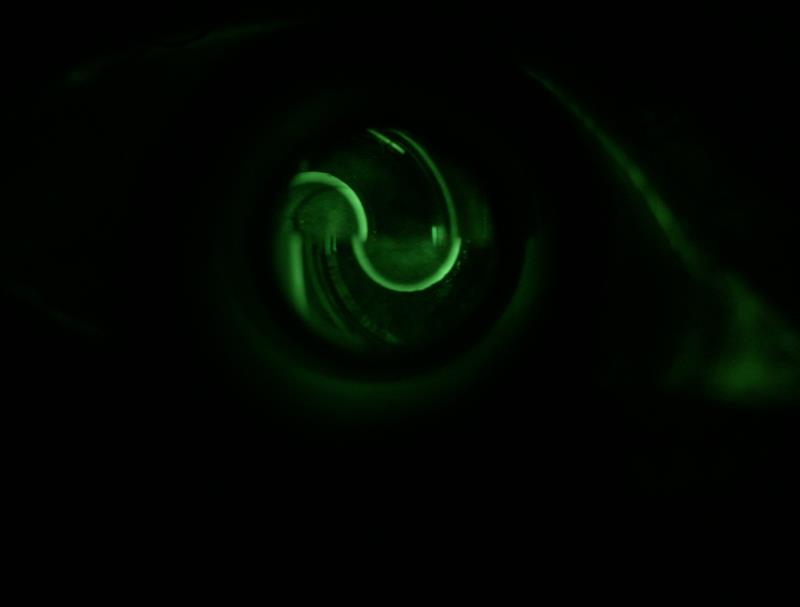
Figure 19
Thanks to Essilor Instruments for loan of the SL 550L. Further details at essilorpro.co.uk