The cameras incorporated into modern smartphones have capability only dreamed of some years ago. It is no surprise, therefore, that their potential for taking high quality images in the clinical setting is becoming more commonly realised.
Slit-lamp adaptors have allowed us to take increasingly good quality images of anterior eye structures and lesions with our phones, while dedicated lens and lighting add-ons are making retinal photography possible. Though unlikely to ever match the capability of a desk-top camera system in terms of image quality and size, smart phones do offer attractive advantages in terms of portability and image transfer.
I recently got my hands on one of the latest smart phone image systems, the D-Eye (UK distributor Grafton Optical). The D-Eye makes the following claims concerning advantages using the system:
- Makes possible viewing of the optic nerve head even without dilation
- Reveals neurological disorders of the eye (presumably swollen nerve heads are implied here)
- Allows assessment of children and infants without dilation
- Allows assessment of bed-ridden or supine patients
- May be of use in emergency room settings
- Allows review of images with parents and guardians
- Allows remote screening in even the least equipped environments
- Telemedicine diagnosis and consultation may be supported.
I thought I would see how verifiable these claims were.
The D-Eye
The D-Eye is an add-on lens which, by the addition of a special phone casing, may be added in front of the lens of later models of Samsung (S4 and S5) and Apple smartphones (5 to 7) to allow the capture of retinal images (figures 1, 2 and 3). The phone casing makes the positioning of the camera unit easy and it is secured in place by both magnets and small pegs to ensure the unit is immediately in the correct position and unlikely to be accidentally moved during use – something that other smartphone systems can be prone to.
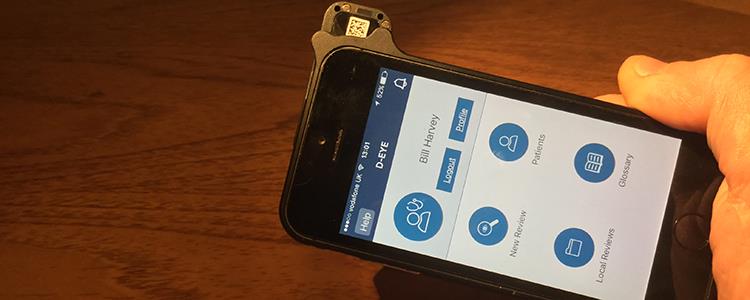
Figure 2
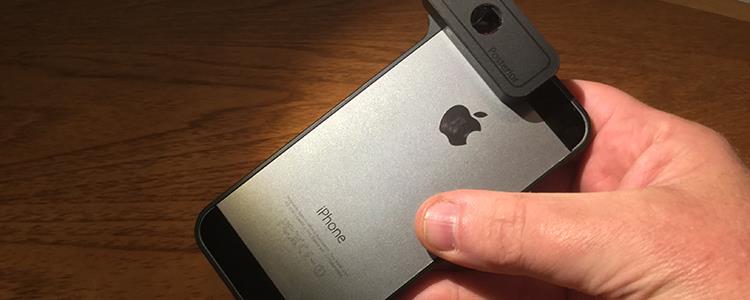
Figure 3
The system is best employed using an easily downloadable app. Once you have registered your profile, the phone will display the ‘home’ menu (figure 4).
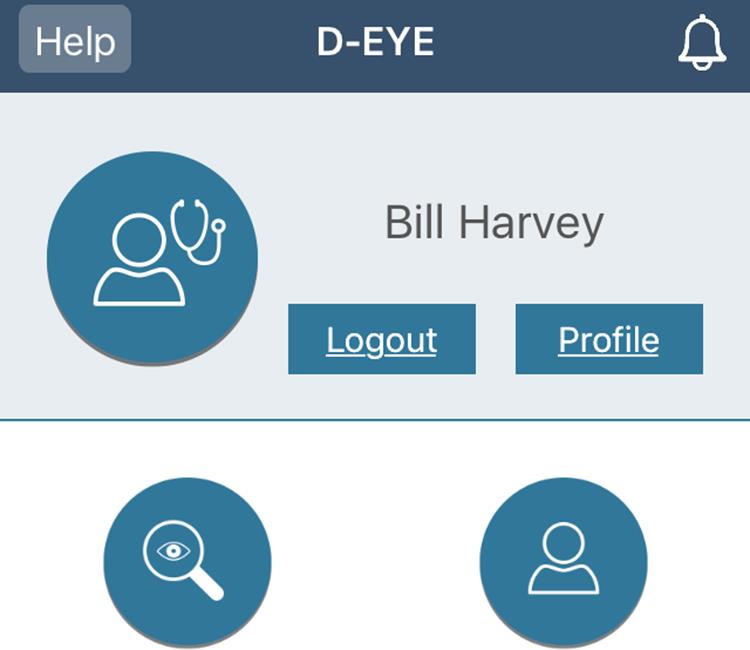
Figure 4
From here it is easy to access existing patient captures or to initiate a new capture (figure 5).
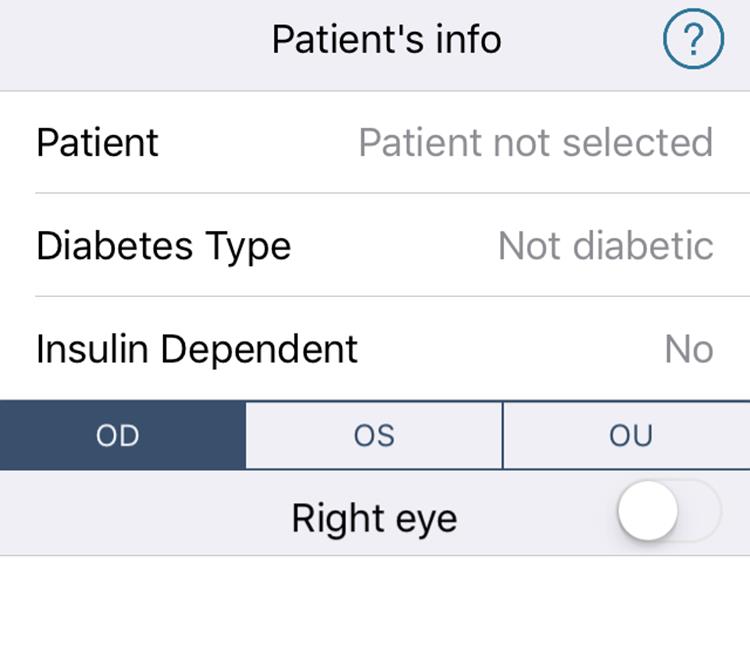 Figure 5
The camera will prompt for any new patient details or allow you to access existing patient files if wishing to add new images to their file (figure 6).
Figure 6
Once decided on the required patient, a new acquisition can be selected and you will then be prompted as to whether the imaging will be stills or video capture (figure 7). When first getting used to the system (and it does take a good deal of practice to get the best views possible), video capture is recommended.
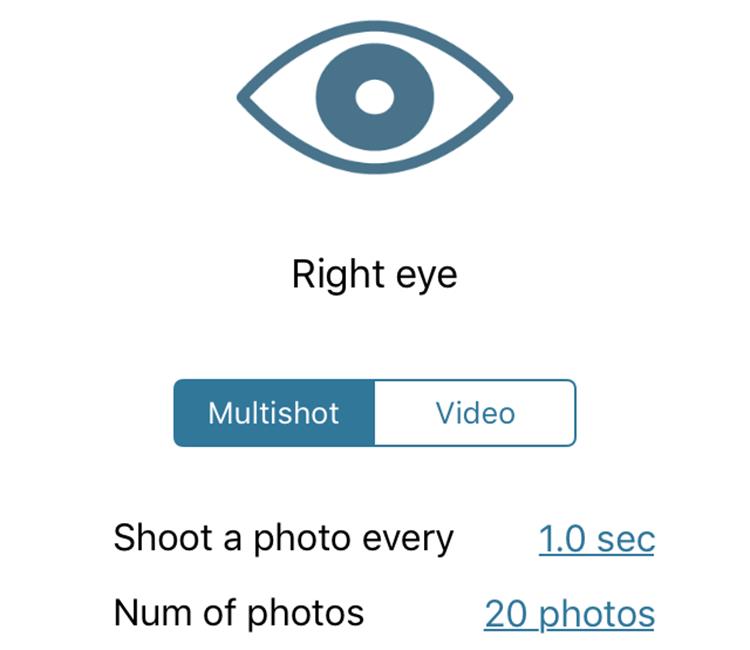
Figure 7
The videos should be no more than 30 seconds, to prevent overuse of memory, and can be later compared so unwanted videos can be deleted.
Once the format of capture is selected, the app asks whether the patient is to be dilated or not (figure 8) as this influences the camera settings.
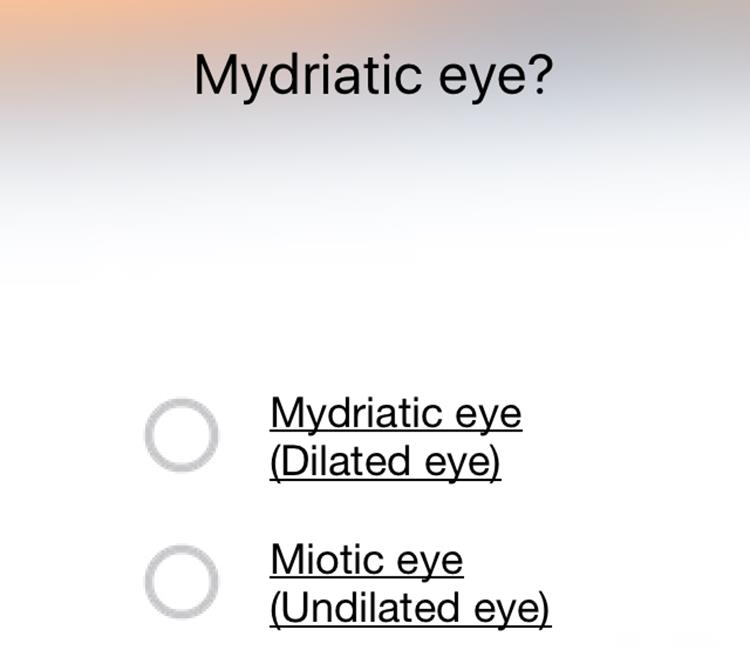
Figure 8
I quickly found that dilation should always be used wherever possible as undilated capture on adults usually restricts the image to the disc alone. With dilation, a field of up to twenty degrees is possible as long as the camera is held sufficiently close to the patient. The image relies on the autofocus of the camera and, to facilitate this, the app asks for information about any ametropia the patient may have (figure 9).
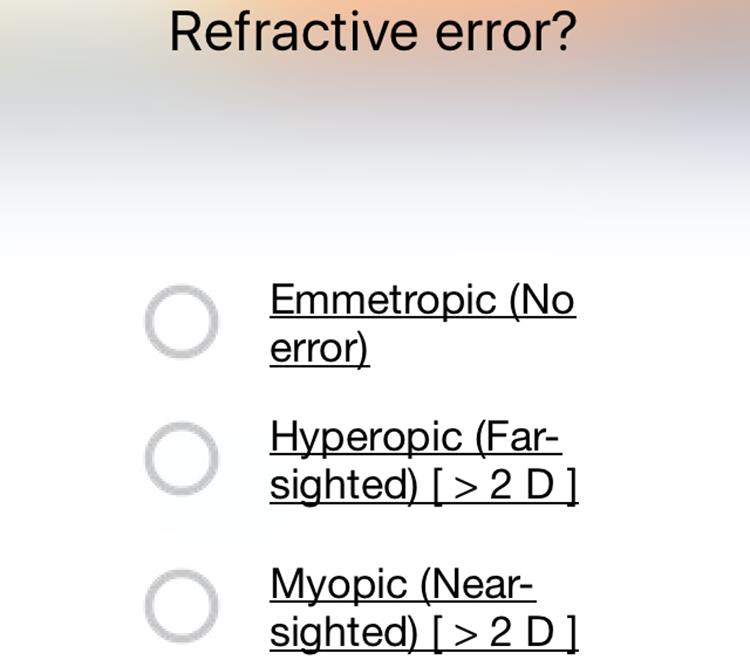
Figure 9
Capture itself is then straightforward – the camera needs to be held vertically before the right eye (figure 10) and horizontally before the left eye (figure 11).
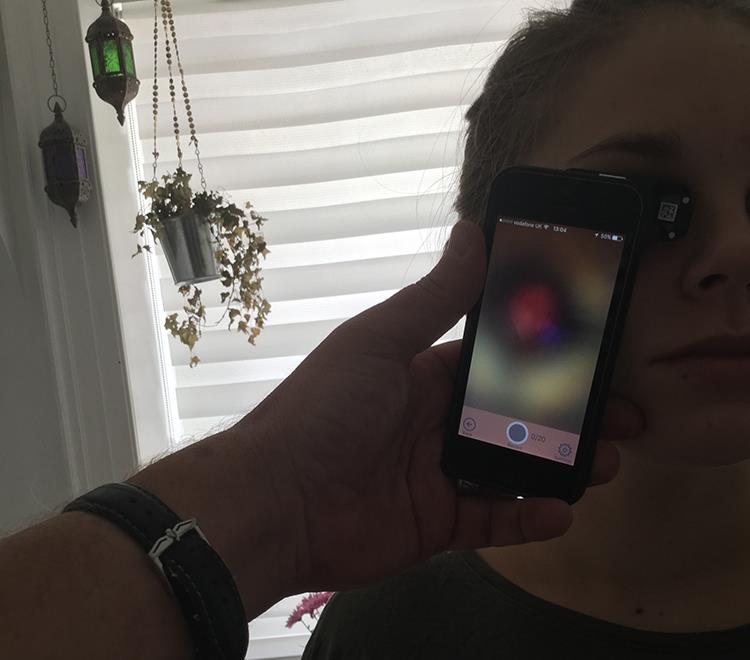
Figure 10
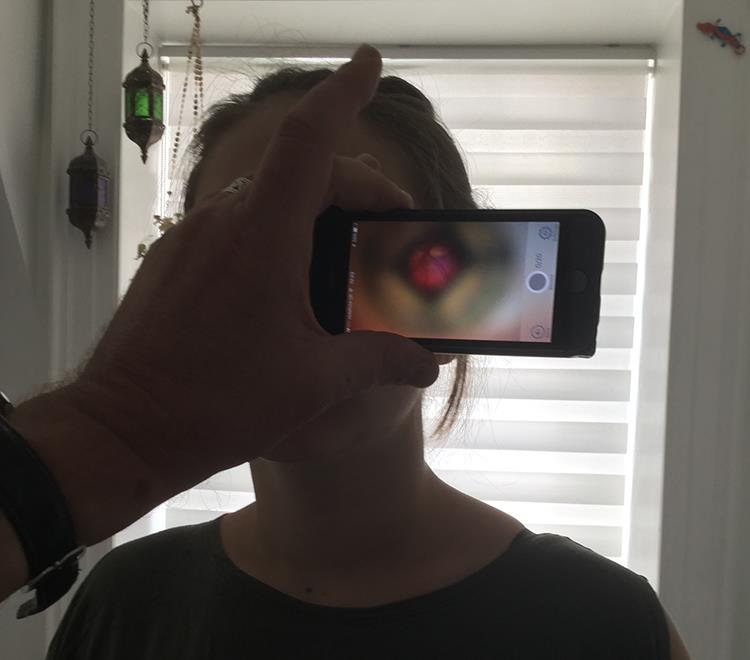
Figure 11
To achieve the best field of view, the camera needs to be just 1cm from the patient’s eye so it is imperative to warn the patient about this.
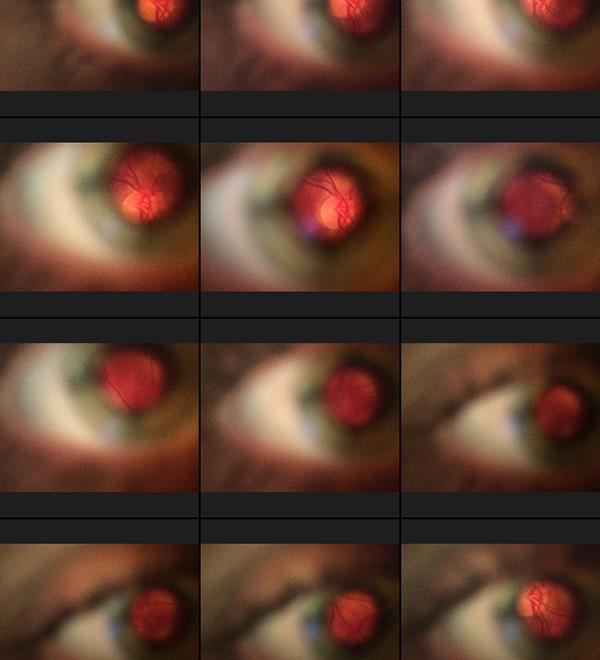
Figure 12
Once the sequence of captures is complete they may then be reviewed (figure 12) or the video replayed (figure 13). Typical images are shown in figures 14 to 16.

Figure 13
I found the system absolutely fine for imaging the disc and, for younger patients, dilation is not needed. My experience is not sufficient yet for me to confidently state that adults can easily be imaged without dilation. With those caveats, I can confirm that the unit meets the claims made for it.
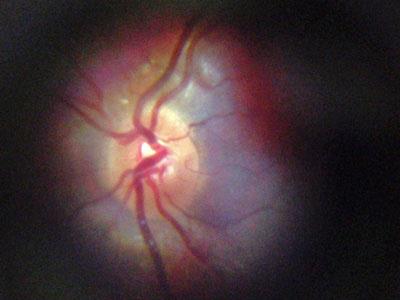
Figure 14
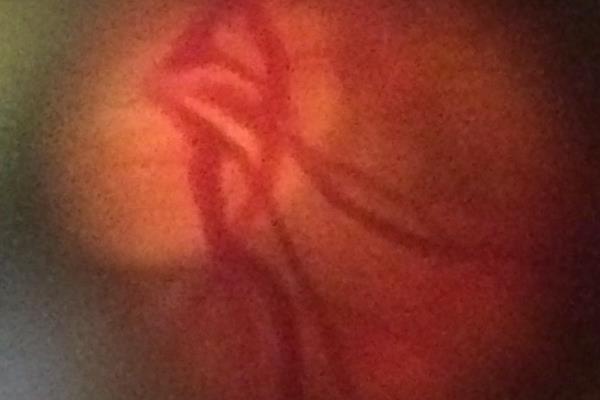
Figure 15
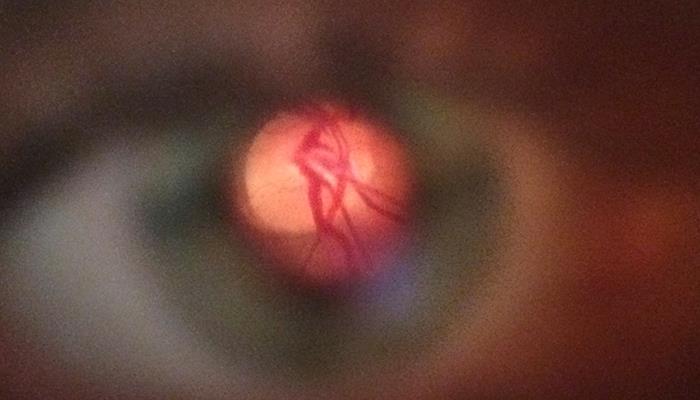
Figure 16
What do others think?
There have been a number of studies already published confirming the usefulness of the D-Eye. One recent study compared use with slit-lamp BIO assessment of diabetics and found the system to be of value.1 Another suggested it has value in assessing acute vascular hypertension in an emergency room setting.2 Studies are ongoing in other areas.
I can confirm that, with practice, the D-Eye makes for a very useful and portable image capture system for the central posterior pole.
Further information www.graftonoptical.com
References
1 Russo A et al. Comparison of Smartphone Ophthalmoscopy With SlitLamp Biomicroscopy for Grading Diabetic Retinopathy. American Journal of Ophthalmology, February 2015 Volume 159, Issue 2, Pages 360–364.e1
2 Muiesan ML et al. Ocular Fundus Photography with A Smartphone Device in Acute Hypertension. Journal of Hypertension, September 2016 (/jhypertension/toc/2016/09002)